Create your own unique kid made garden signs with just a few supplies. With limitless design ideas these air clay garden signs are fun to make with your child.
When spring arrives our minds immediately shift to gardening. I have been gardening with my daughters since they were toddlers. Every spring we pick up seeds from our local garden centre and start growing our garden right on our windowsill.
We are always in awe of the magic of planting seeds and watching them grow.
This year, we have been thinking about creating something unique to place in our garden. In past years, we made our own vegetable markers, and this year I decided that we would try making a garden sign.
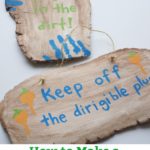
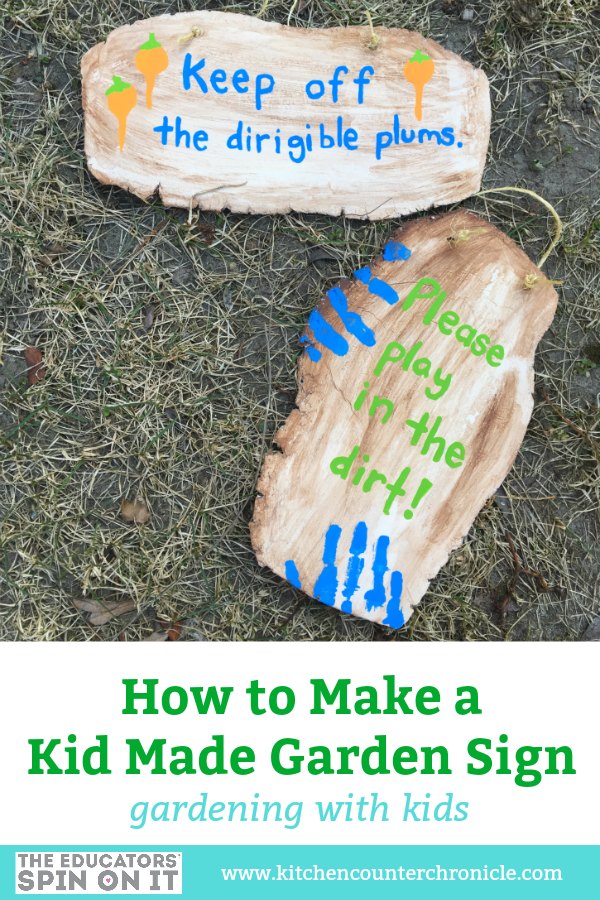
There are so many funny garden signs out there – gardeners have a very silly sense of humor. As with everything in our garden I went to my daughters for their input. Kids have the most wonderful imaginations and think of things that adults might not. One of our signs is directly inspired by my youngest daughter’s favorite character from the Harry Potter books, Luna Lovegood. When Harry, Hermione and Ron visit Luna’s house there is a sign in her garden, “keep off the dirigible plums”. What are dirigible plums? Magical floating, orange, radish-type fruit. What a perfectly quirky sign for our garden.
My girls have a bunch of little cousins, who love to pick the vegetables in our garden. These little cousins inspired our second sign, “Please, play in the dirt.” After all, the best way to get kids excited about gardening is to let them get their hands dirty.
Kid Made Garden Signs
- Air dry clay
- Various acrylic paints and paintbrushes
- A wooden skewer
- Rolling pin
- Wax paper
- Clear acrylic sealer (like Modge Podge)
- Twine
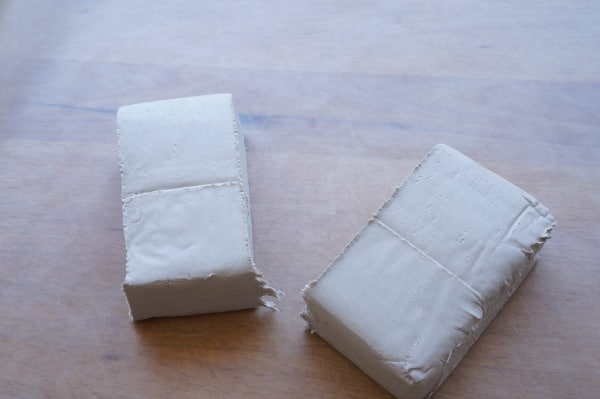
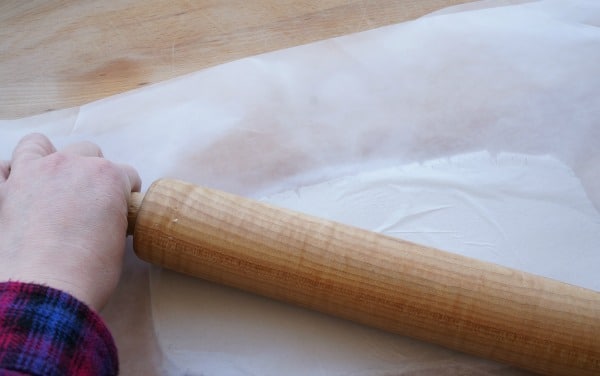
The first step is making the clay plaque. Place a rectangle of clay between two sheets of wax paper. Use the rolling pin to flatten the clay to about ½ inch thickness.
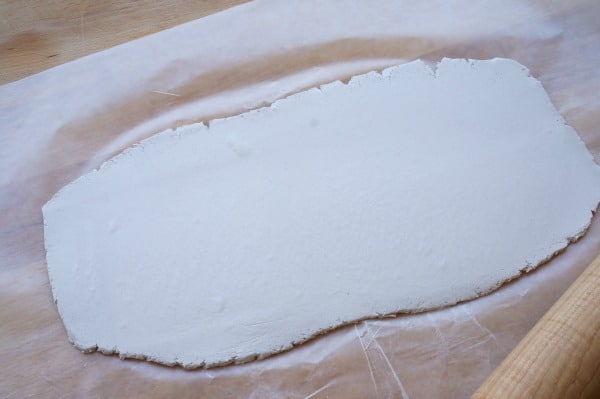
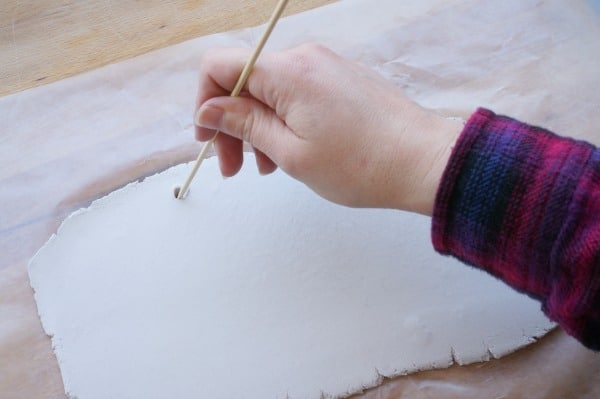
Once the clay is rolled out, use the wooden skewer to make two holes in the top of the clay plaque. Don’t forget to make the holes, or you won’t have any way to hang the sign. We opted to hang one sign horizontally and one vertically.
Set the clay aside to dry.
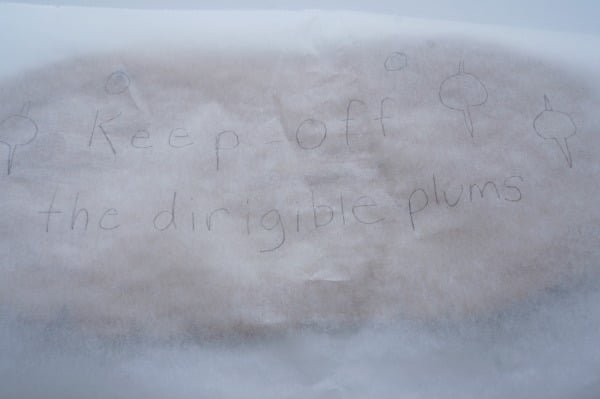
Now, it’s time to plan out what you want the sign to say. Take inspiration from your favorite books or silly gardening puns. A simple “Welcome to our Garden” works too. Place a piece of wax paper over the clay plaque and trace the size of the sign. Use the piece of wax paper to plan out how to write the words on the plaque. This will help to determine the size of the letters and where to write.
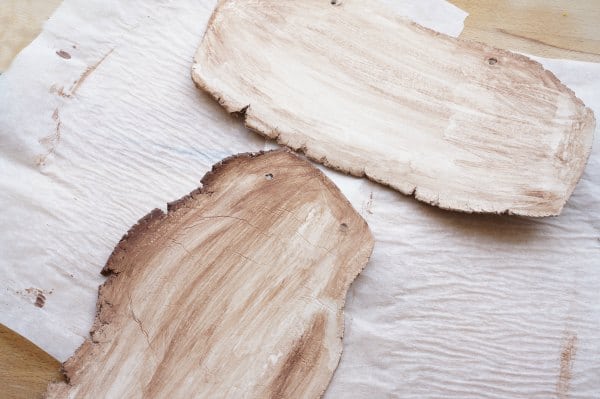
When the clay is dry, it’s time to paint. Start by painting a base color on the clay plaque. We decided to use brown as our base color. Be sure to paint the front, back and sides of the plaque.
Once the base color has dried, it’s time to use a pencil to write on the saying. Use the design that you created on the wax paper as a guide. With a thin paintbrush, paint over the letters.
Add any additional designs to your sign. We embraced the “play in the dirt” and my daughter used her hands to make painted handprints on the sign. For the Luna Lovegood sign, we added a few dirigible plums.
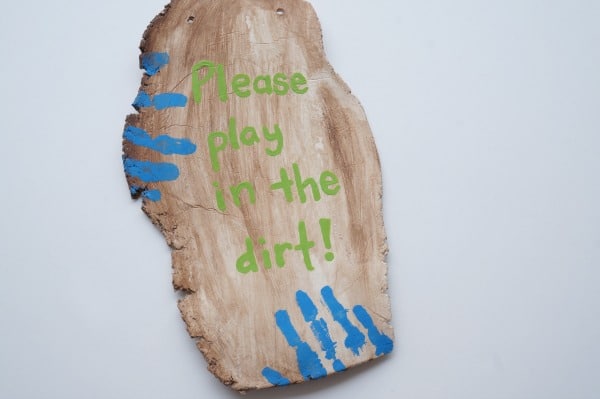
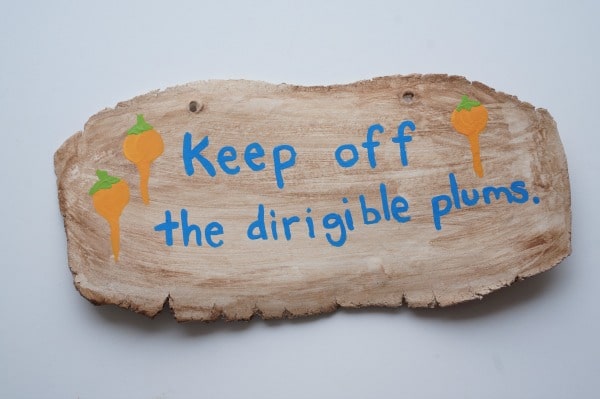
When all the paint has dried it is time to seal the paint. Use a clear craft sealer. Be sure to seal all sides of the sign to protect the sign from rain and sunshine.
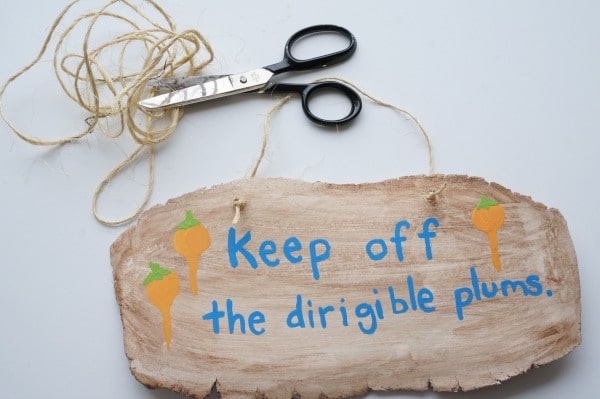
Finally, thread the garden twine through the holes and hang up the signs.
Our backyard isn’t quite ready for the signs, it’s still pretty cold outside. We are planning on hanging out dirigible plum sign tucked in with our cherry tomato plants. Cherry tomatoes look similar to dirigible plums – well, we think they do.
As for our “play in the dirt” sign, we will hang that at entrance to our garden. It will welcome visitors into our vegetable garden.
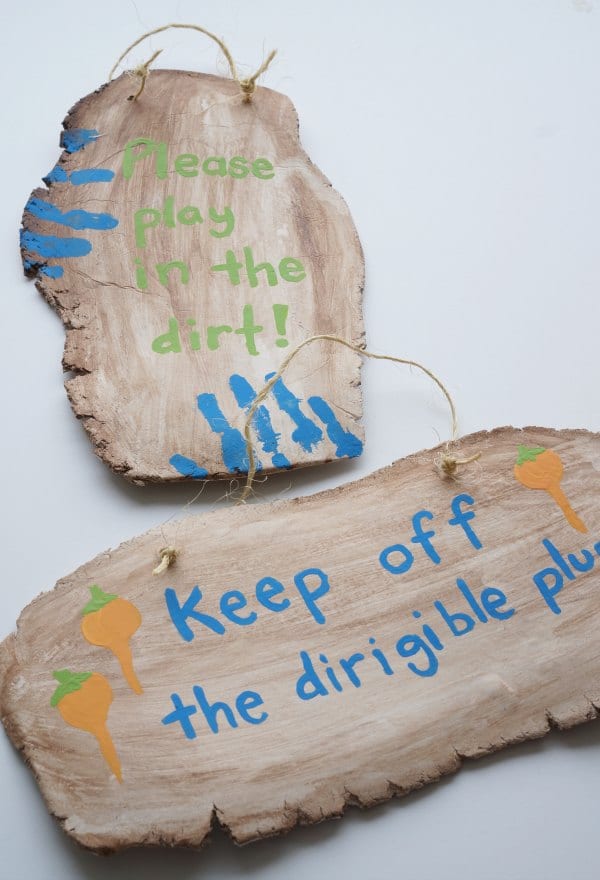
Our garden signs were a lot of fun to design and make. What will your garden sign say?

ABOUT: Life lands on the kitchen counter and Jen has been happily shares everything on her family’s counter on her blog Kitchen Counter Chronicles. Jen is a busy mom, who is attempting to raise her kids in an eco-friendly home. Jen loves growing food in her tiny urban garden, creating hands on activities for kids of all ages and finding ways to get kids exploring in the kitchen.
You can connect with Jen on Instagram, Facebook and Pinterest.
For more gardening ideas with Kids CLICK HERE
