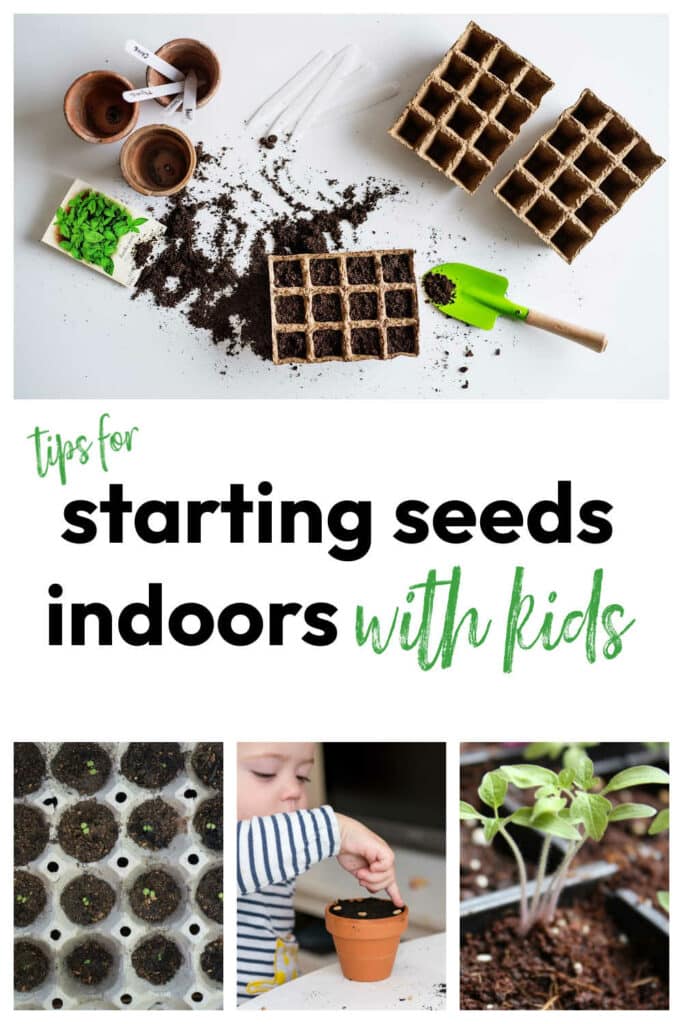
Discover simple tips for starting seeds indoors with kids! Learn how to create a fun, hands-on learning garden at home to teach children about plants and gardening.
Please note that I have no special training in gardening, but that I enjoy teaching my children about the world, having them learn about food and where it comes from, and being able to pick fresh produce to feed our family.
Starting Seeds Indoors with Kids
I have never been very successful at starting seeds inside. As a matter of fact, I have tried unsuccessfully for 3 years to start tomatoes and peppers inside. Each year, I start the seeds and for one reason or another, end up buying transplants at the local Feed and Seed store.
This year, I have received a Southern Small Garden Seed Bucket from Baker Creek Seeds to review for all of you and I am determined to have some healthy transplants for my garden this spring!
While we were living in an apartment, we belonged to a local organic crop share (CSA) Each week we picked up a bag of in-season produce that was grown by our farmers. We learned to cook with foods that we had never even considered before and our kids learned to like greens like Kale and Escarole. This Small Garden Bucket reminded me of why we joined the CSA.
There are more than 15 types of vegetables and 30 varieties. It was full of seeds to plant and many of them are not ones that I would have selected based on their catalog description, therefore encouraging me to “plant outside my comfort zone” as one reviewer stated. I also purchased several seed packets of my own as well. There were some Russian Heirloom Varieties that I just couldn’t resist trying!!!
I asked the staff at Baker Creek for their seed starting suggestions, this is what Kathy wrote to me…
“As for backyard garden tips: pay attention to shade and/or lack thereof when planting, keep seeds moist when sprouting, and then keep the soil moist but not overly wet.
Be sure to thin the radishes after they come up so they will have room to grow. Thinned plants can be used in salads.
Take lots of photos and keep a journal throughout the process. You should find planting instructions on the back of each seed packet. We wish you successful gardening. “
So today, I am going to try and limit myself to writing about my indoor starts, mainly tomatoes and peppers. I wrote a post about using seeds vs transplants here.
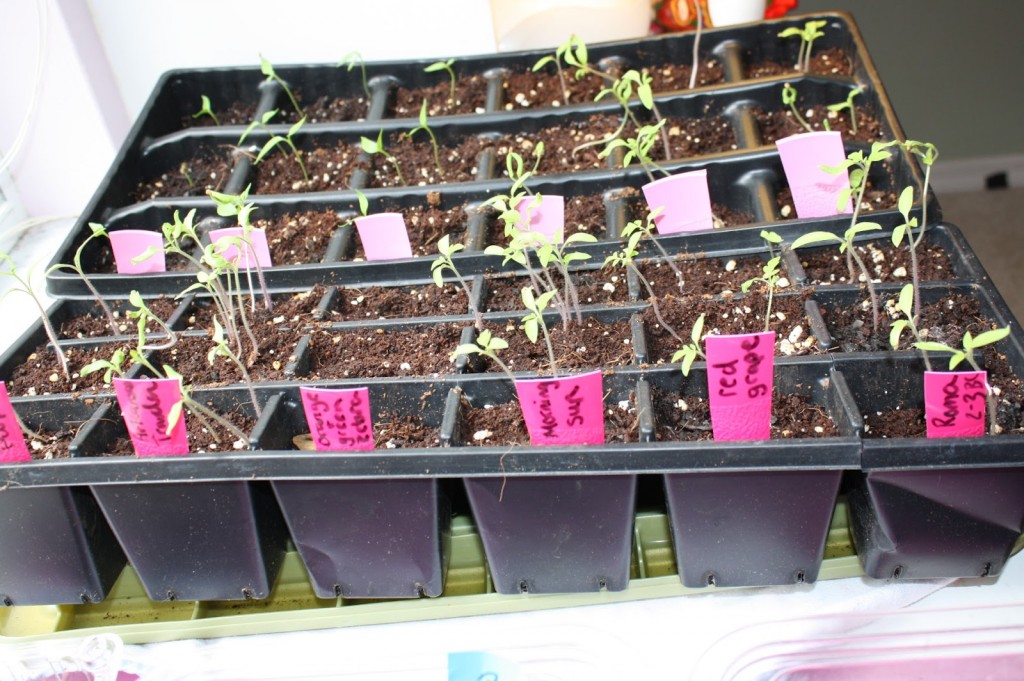
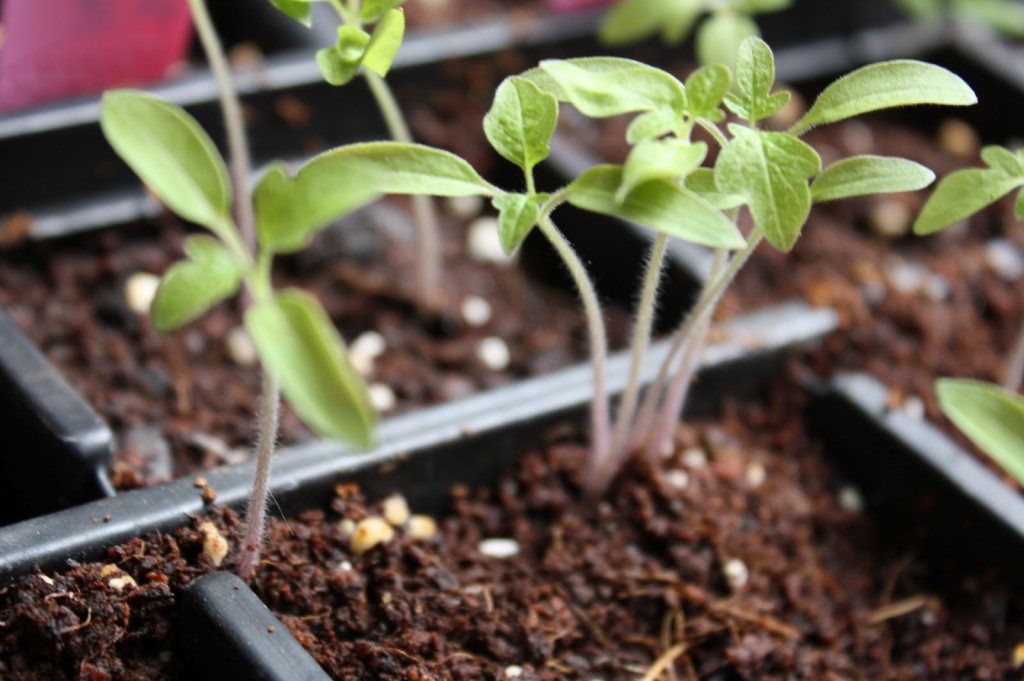
As you can see by the first picture, my seeds have sprouted – YIPEEE!!!!
I planted them in re-used containers; ones from flats of flowers, others in plastic strawberry containers. I know they recommend using the seed starting soil, but that stuff is expensive, so I put garden soil in half of each little pot and then used the seed starting soil on the top.
As Kathy suggested, I kept the seeds moist. As the seed packet explained, they needed to be “surface sown,” meaning planted on top of the dirt with little or no dirt covering them. I thought this was unusual as I have always covered my seeds, but as I said before, I have never been successful, so I was up for trying it!
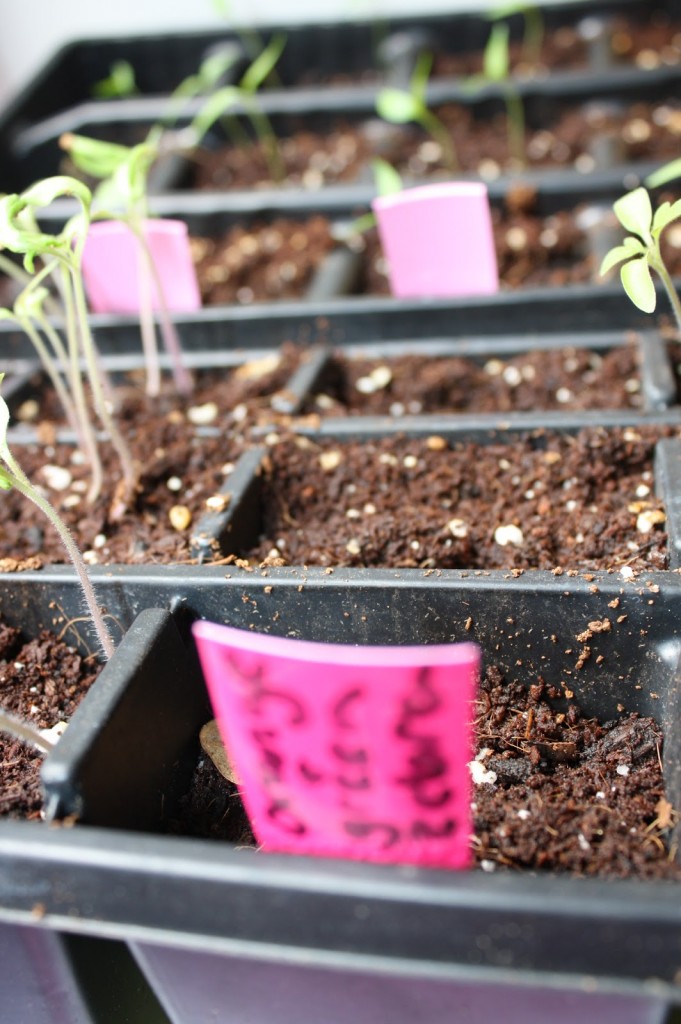
I planted 2 seeds in each compartment, and I will cut off the weaker-looking plant. Out of the 9 tomato varieties I planted, 8 had a 100 percent germination rate. Or so I thought. Can you tell by the above picture that this orange and green variety had no seeds germinate? I was SO disappointed.
Then, I looked at the cells next to it…
Yes, this is what happens when you garden with a 2 and 5 year old! It will be a mystery of which is which!
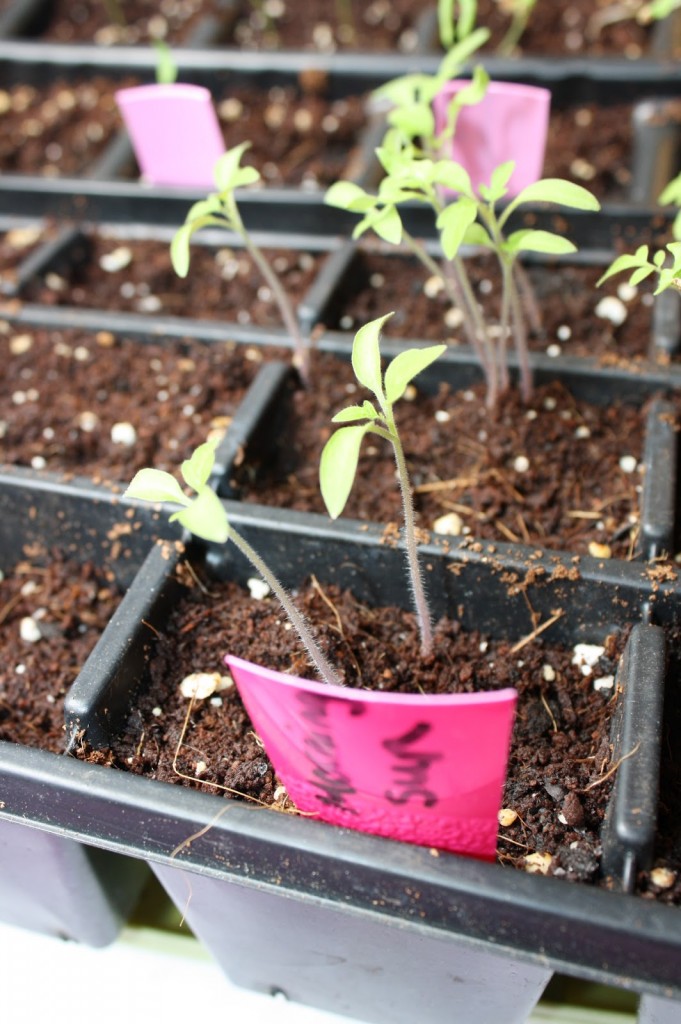
Now that I figured out that I can start the seeds, my problem is going to be making sure that the plants don’t get “leggy.” I have them in the only Southern-facing window in our house and they do get sunlight.
It would be really cool to have a grow light, but they just are not in a small gardener’s budget.
For the time being, my kids are having fun pretending to be the “wind” and blowing on the seedlings whenever they have the chance. I’m trying to keep them moist and crossing my fingers for some healthy transplants!
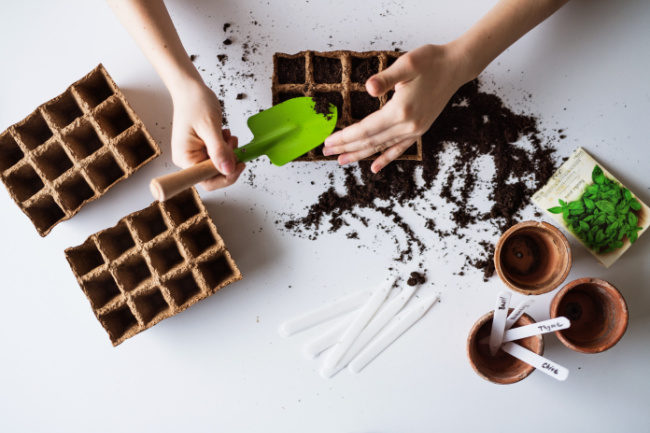
Here are some simple and kid-friendly tips for starting seeds indoors:
- Pick Easy Seeds – Start with fast-growing seeds like beans, peas, sunflowers, or lettuce. Kids love seeing quick results!
- Use Clear Cups or Egg Cartons – Let kids see the roots grow by planting in clear containers or recycled egg cartons.
- Label Everything – Use popsicle sticks or tape to label each plant. Let kids decorate the labels to make it fun!
- Make a Watering Schedule – Keep a simple chart or calendar so kids remember to water the seeds regularly.
- Give Them a Sunny Spot – Place your seed trays near a bright window. Talk about how light helps plants grow.
- Let Kids Take Charge – Give each child their own seeds to plant and care for. It builds responsibility and pride!
- Track the Growth – Have kids draw or take photos of their plants growing. It’s a fun way to observe changes.
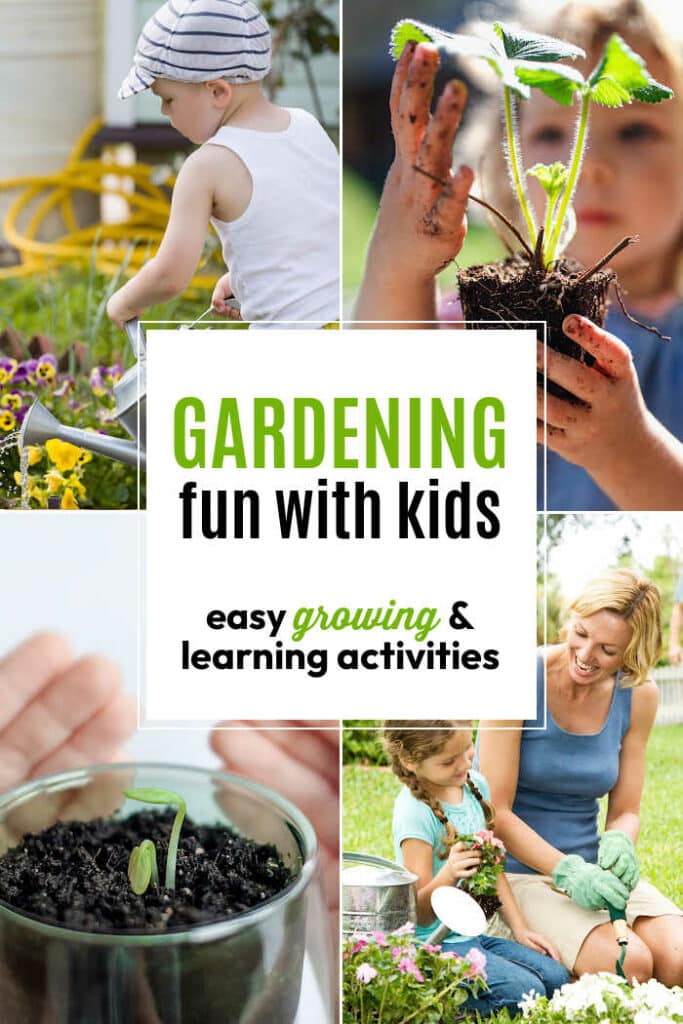
For more of our kids in the garden posts with ideas on how to use your garden as a learning garden, click here!
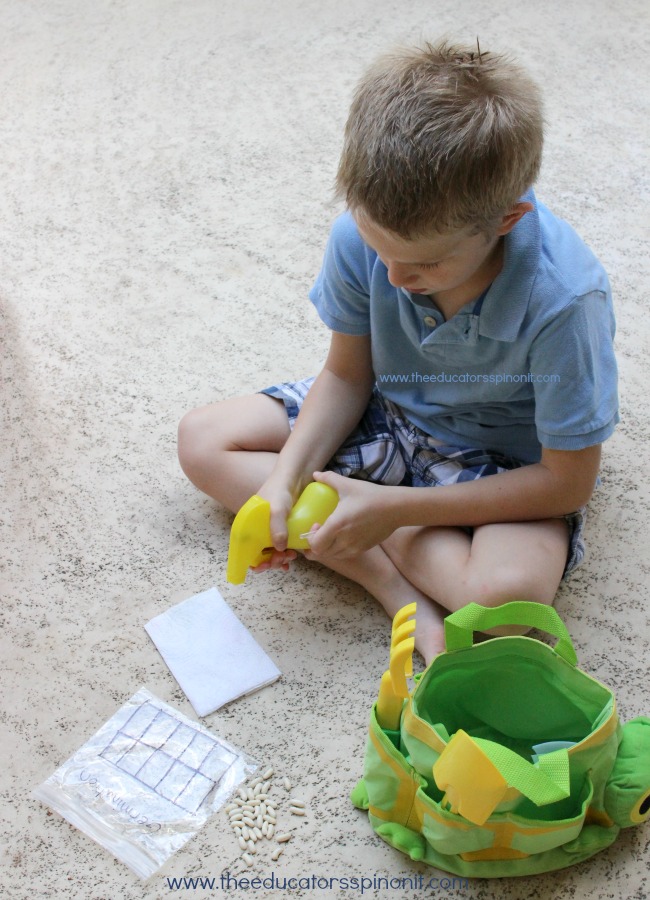
You may also enjoy these activities with your child in the garden…





Great post, and great blog, can't wait to try with my little man
I use humidity domes and mount a small fluorescent light above the flats on the bottom of the shelf above the target flat about 6 inches off, it is not a "Grow" light, just a common fluorescent light I bought at a local thrift store for $3.00. I did not use a heat mat, but they help as well. keep spritzing the inside of the humidity dome daily or any time it look s dry. I have been transplanting the yield for the past 2 days and it was near 100%. I use seed starting soil as well, but you can use garden soil as long as you make sure it is light and airy, add lots of mulch finely chopped make it so it hols water and blocks the light. another thing you can do is place the seeds inside a paper towel and fold it up spritz it with water place inside a zip lock bag and let it germinate the seeds then plant them in a good soil under a humidity dome. a humidity dome can be made from containers that food comes in or use a sheet of "saran" wrap over the container you sow the seeds in. The humidity dome will increase your success rate exponentially… happy growing!
YUM! Wish we lived closer. Just reading about your juice, sauces, and chili makes me salivate. My parents make their own salsa and spaghetti sauces every year in MN. NOTHING in the world compares to the taste! I have such great memories of being sent to the basement to bring up a jar of ____ for dinner. I didn't realize how lucky I was until I started gardening as an adult!!!! Just visited your blog – can't wait to see pictures of everything growing this summer!!!
YEAH! So excited for you Becky and glad to have you here!!! What a gift you are giving your child – the chance to garden with you =) We have a lot and will continue to post about gardening with kids. Please let me know if there is anything you would like to see us write about!!! Here is a link to all of our kids in the garden posts! https://theeducatorsspinonit.com/search/label/Kids%20in%20the%20Garden
Great reminders, tips, and suggestions for those of us back yard gardeners! It was so sweet of you to not only stop by, but share your expertise!!! There is so many "tricks of the trade" to learn that starting a garden can seem so overwhelming for new gardeners (like me!) My kids LOVE their jobs of "blowing" on our seedlings several times a day and it is a good way of involving them in the process. It is good to know that their job is really being helpful! I like trying to start things indoors mostly to teach my kids and provide them opportunites to demonstrate responsibility for caring for a living things.
Baker Creek seeds are wonderful–I've always used them for my heirloom plant business and when growing with kids, because they have a great germination rate! I was looking at some of the suggestions others have posted, and it is true–tomatoes, peppers, and eggplants do benefit from bottom heat for germination. I use heat mats, which can be pricey–but you can also put your seeds on top of the refrigerator or anywhere that generates some warmth. (Don't use a heating pad, because they aren't safe if in contact with water.) As for grow lights–PLEASE don't buy the ridiculously expensive, marketed grow light sets. You can find a small "shop light" at any of the big box stores for under $10. Actually, I think my 4' light fixtures with adjustable chains were $9.97 each. And, if you have a shelf or workbench, you can simply insert two hooks under the shelf and hang your light there with the seedlings underneath. Good light close to the plants is really important to make strong, non-leggy seedlings. Also–a light brushing with your hand or a small fan to blow on them a few times a day helps to strengthen the seedlings.
One other tip–make sure that if you reuse containers to start seedlings that they are disinfected. I'm sure you already know that, but clean containers sterilized with a 1-10 bleach/water mixture and well rinsed will help you avoid any left-over diseases from the previous occupants! Finally, a soil-less seed starting mixed is recommended also to help prevent diseases and "damping off" of your green babies. (You can get a bag of organic seed starting mix for less than $4–and it will last you many years if you aren't starting hundreds of plants!)
Good luck with your garden! Hope you have a wonderful harvest this summer!
Last year I grew Rio Grande Tomatoes. They were like a thick walled plum tomato. I can juice and tomatoes for winter to make sauce and chili. This year, we are going to try San Marzano tomatoes. They are great for sauce. If you look at my blog, I have what I am growing this year. You can see at http://www.chefhawleywood.blogspot.com
This is my second year trying to start seeds indoors (I was not successful last year) but this year with the help of my two year old I seem to be doing better. I started bell peppers, hot peppers, cherry tomatoes and lettuce and aside from a few seeds in the wrong cells (my two year old was super excited to help) they are doing great! I don't have a grow light but I use a flourescent bulb in a desk lamp to try to give them more light at night. It seems to be working so far. 🙂
That is AWESOME!!! Glad to hear that the "budget friendly, high TLC" method can produce good results. I love hearing these kind of stories. What is your favorite tomato variety?
I have been starting seeds indoors for the last 3 years now and I just wanted to say that I don't use any of the fancy grow lights or heating pads. I use square pots that are about 3"x3"x4". I fill the first 2/3 with soil from my garden and the top 1/3 with Miracle Grow Seed Starting Mix. I'm on a budget myself, and this was $3.97 for a good sized bag at Walmart. I live in PA so starting indoors is a necessity. Last year, I had 38 out of 40 tomatoes come up and I ended up planting 36 strong seedlings in my garden. I have had very good success this way and will continue this way. The main thing is to leave where sunny and make sure you keep moist. Good luck on your seedlings!
Thanks Kevinh (I and many of our readers are on tight budgets so this option is very kind of you to share) I weighed the pros and cons of one this year and did not end up setting one up. We are lucky to have great local resources where I can buy healthy transplants from non-box store varieties. One may be in my future. Also have to add that my parents (and in-laws) both have AMAZING, breathtaking, delicious, large gardens in MN and Russia and both do not use lights – so I am hoping that I can find success this year =) even without the light to help! May very well ending up making this for next year! Keep those suggestions and links coming! I (and our readers) LOVE THEM!!!
Thank you so much!
They came highly reccomended by a friend and I couldn't believe her 100% germination rate until I tried it myself. SO excited to introduce my children to some new-to-us varieties of vegetables!!!
All awesome suggestions and we will consider it! As a very small backyard gardener on a budget 60 is a LOT of money! I have been eyeing the heating pad and lamps and may save up for them! We live in a warm zone and I have great luck starting things from seeds outdoors. Will keep you updated on how these go! Thanks for stopping by =)
So glad to have you stop by!
I'm glad you are having good luck with your seed stating indoors. You know a light set up is as expensive or as cheap as you want it. You can go and get a grow light for around $10 for a smaller one and a pvc stand to hang it from is not much more than that. I would say for under $25 you can avoid leggy plants. Youtube is a great place to find light setups.
http://www.youtube.com/watch?v=fZlC21pWa8M
this one is not bad
You haven't had success because most seeds benefit from bottom heat via a heating pad under the flat for germanation, especially tomatoes, peppers, and eggplant. Also, you shouldn't use garden soil only the seed starting mix. And, really, they need to go under a grow lamp the window light is just not enough. Those are the problems.
You can purchase a rectangular back/leg heating pad at Walmart (instead of the fancy gardening ones) for fairly cheap, such as this: http://www.walmart.com/ip/SoftHeat-Moist-or-Dry-Heating-Pad/10752335
It really is a good investment. Same with the grow lamp. You'll used them year after year. I have the Hydrofarm 4ft, which is 60 bucks on Amazon. You could get the smaller for only 49.99: http://www.amazon.com/Hydrofarm-2-Foot-Start-Light-System/dp/B0006856EQ/ref=sr_1_2?ie=UTF8&qid=1331214348&sr=8-2
Then after your seedling have get a little bigger, you must transplant them in larger pots with a little fertilizer and keep them under grow lamps.
Good luck!!
Thanks for bringing it up.
I just stumbled upon your blog and wanted to say that I have really enjoyed reading your blog posts.
Thanks,
non gmo seeds
Thanks Lori – that is so sweet of you!
Melissa – I am finding that some years are just better than others and everything is worth a second or even third go at it! I'll keep you updated and wish you successes this year =)
Great tips! I have also tried unsuccessfully to start seeds indoors. Now I am just a little scared to ever try it again. Becoming a follower, love what you are doing here, and would love to keep up on your blog.
Melissa
redflycreations.blogspot.com
Congrats, I have chosen to pass along the One Lovely Blog Award to you.
Click here to see!
Lori @ Cachey Mama’s Classroom