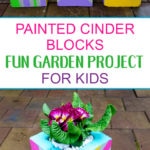
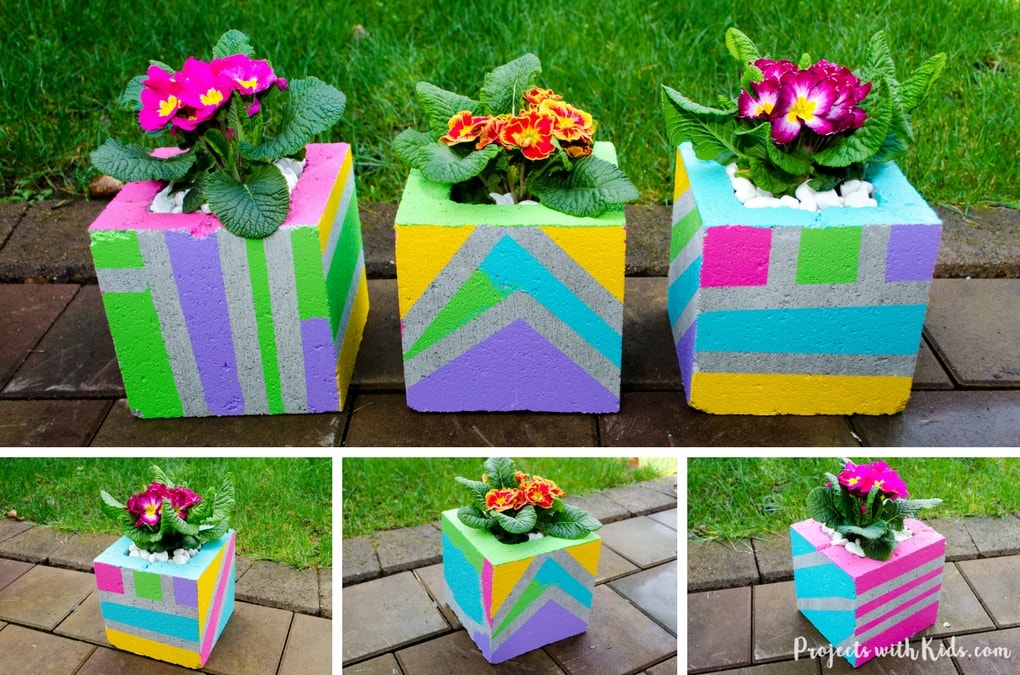
Add some wow factor to your patio or balcony with these fun & colorful painted cinder blocks. This is such a wonderful garden project to do with kids and makes a great spring or summer outdoor family activity.
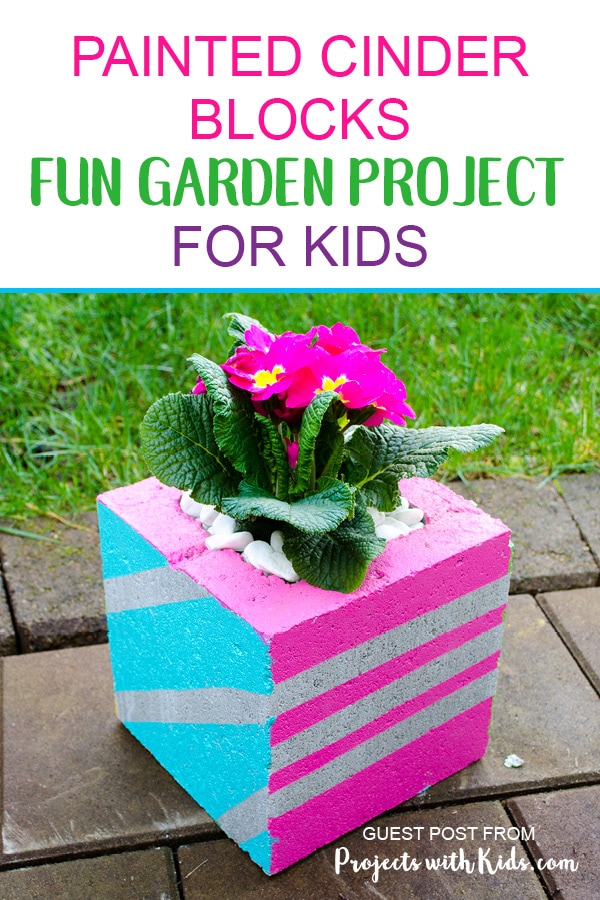
We had so much fun making these planters and picking out our flowers. They look amazing on our balcony and bring in some much needed color after all of the cold winter weather.
This is a great project for kids of all ages, but because the cinder blocks are quite heavy kids will need some help moving the blocks around. We used outdoor patio paint to ensure that the planters would be weatherproof and able to stay outdoors. I am choosing to keep our planters on our covered balcony just to keep the colors nice and bright.
Make your own painted cinder blocks
Disclosure: Amazon affiliate links included
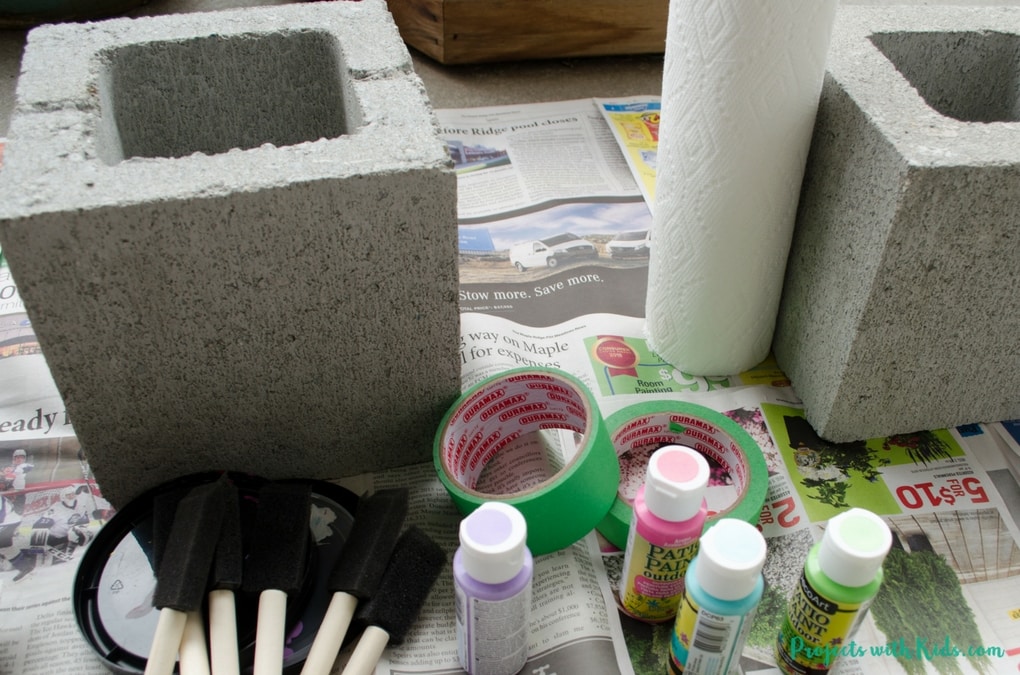
Supplies for painting your cinder blocks
- Cinder blocks
- Weatherproof outdoor paint. I found DecoArt outdoor patio paint at our local craft store. It is weatherproof and self-sealing so no sealer is needed plus it comes in lots of fun bright colors.
- Painters tape
- Foam brushes
- Plastic lids or containers to use as paint palettes
Instructions for painting your cinder blocks
1. Lay down newspaper or a drop cloth before starting. If your cinder blocks are dirty, make sure to wipe them down and let them completely dry before painting. Place your cinder blocks on top of the newspaper and get your paint and brushes ready. I found that foam brushes work best with this project, they spread the paint nicely and are easy for kids to use.
Related: Mini Plant Pots – an Easy Upcycle Craft for Kids
2. Using painters tape, create your designs on the cinder blocks. We went super simple and stuck with geometric lines. My 7-year-old daughter did this step on her own while my 5-year-old needed a bit of help. Depending on where your planters will be, you can choose to do all sides or just the sides that will be showing. Make sure to press the tape down really well so the paint doesn’t bleed through.
Don’t worry about measuring or making sure that their lines are straight, they will look amazing! My son only wanted to use tape on a couple of sides and his planter still looks great.
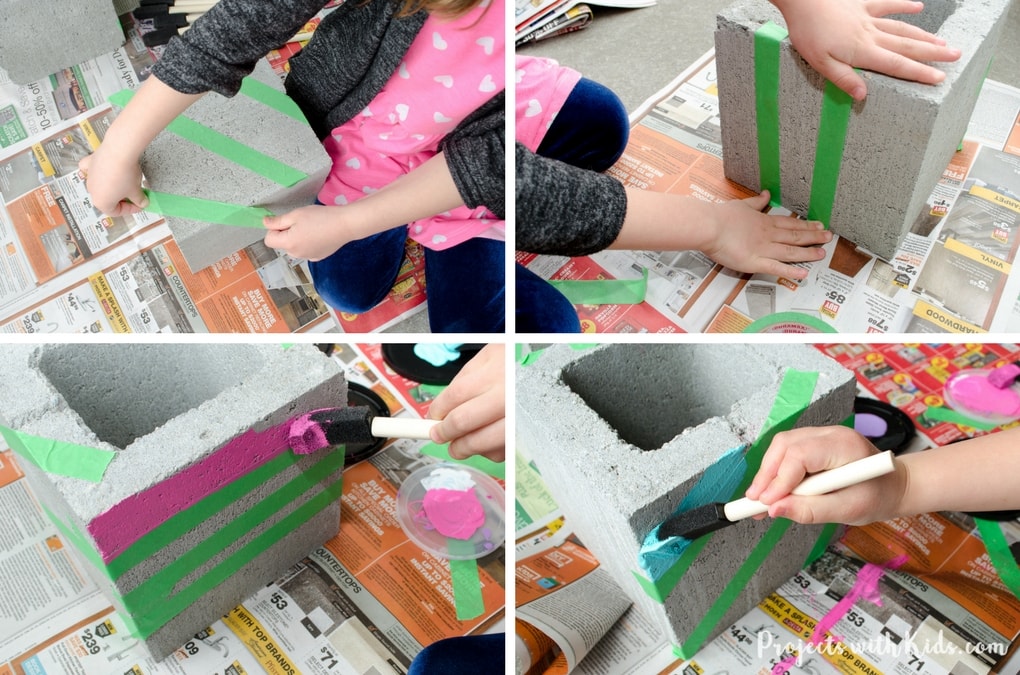
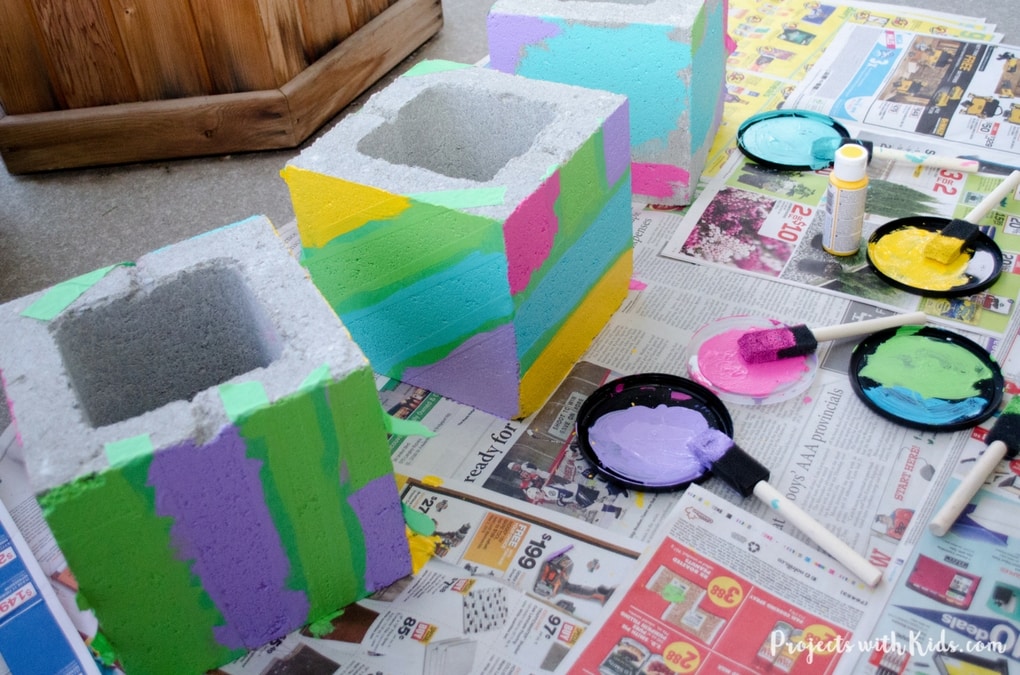
3. Once everyone is done creating their patterns out of tape, using one color at a time, let the kids paint in their designs. This part is fun! My kids loved choosing their colors and painting their cinder blocks.
After they have finished painting, you need to let the paint dry completely. The instructions on our paint were to let everything dry for 72 hours. You can take the tape off after a couple of hours or wait, I found it didn’t make a difference.
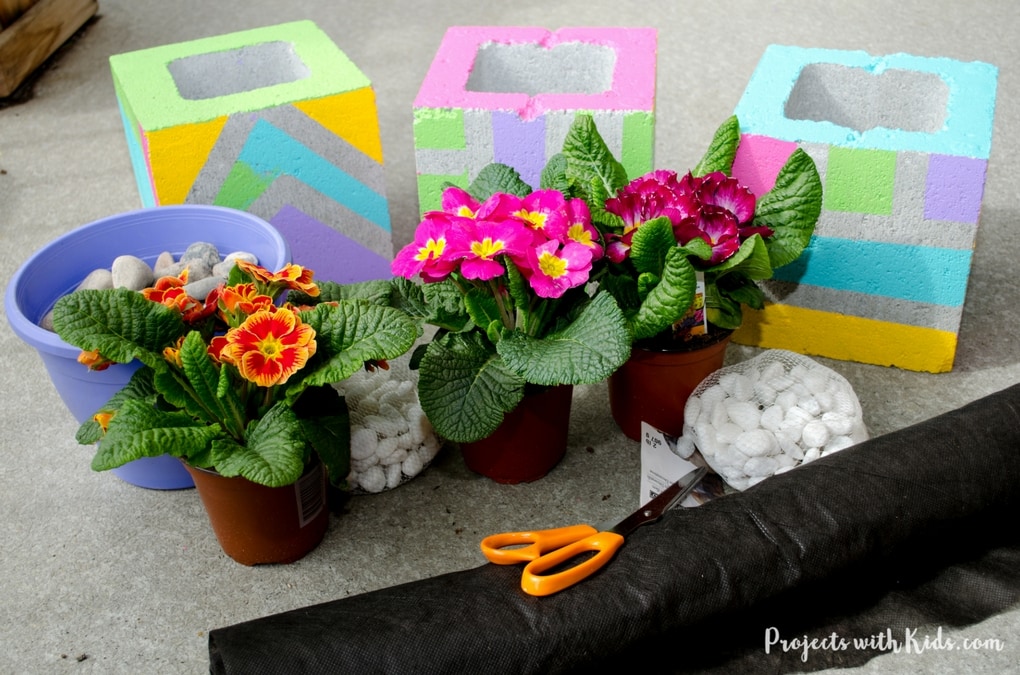
Supplies for creating your painted cinder block planters
- Landscape fabric
- Scissors
- Rocks
- Decorative rocks (optional)
- Flowers
- Extra dirt
- Small shovel
Instructions for creating your painted cinder block planters
1. Choose the flowers or type of plant you want to use. We chose primulas and had fun picking our own color of plant out. I am hoping to plant marigolds in them in June or July to last into the early fall. Succulents would also look great, it really depends on where you live and what kind of light/direction your planters will be facing.
Related: Handmade Coasters with Pressed Flowers and Washi Tape
2. Because there is such a big hole at the bottom of the cinder blocks, you will need to use some landscape fabric. Cut out your fabric, this step is best done by an adult, and place the fabric into your cinder blocks. Fold down or cut the top of the fabric so it will not show after you have planted your flowers. Cut a second piece of landscape fabric, fold into a square and place at the bottom for extra support.
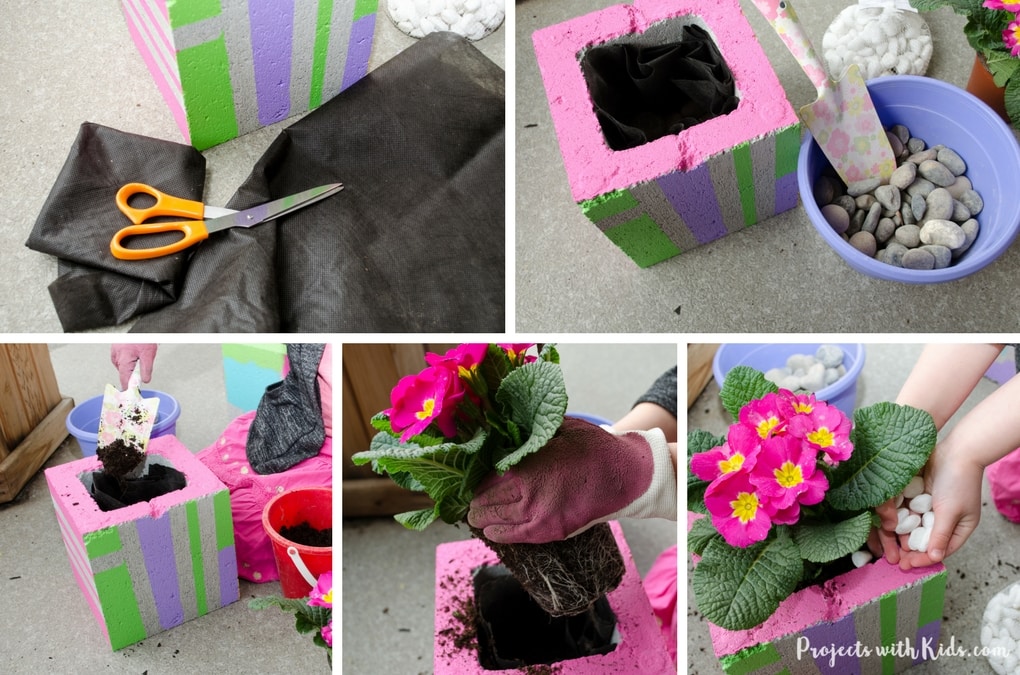
3. Add in a couple handfuls of rocks to help with drainage. Add in your dirt, just enough to cover the rocks, you can always add more dirt after.
4. Plant your flowers! Take them out of the pots, loosen the roots and dirt and place them into the cinder blocks. Add more dirt on top and on the sides if needed. This will be messy, your kids might want to wear gardening gloves like my daughter did.
5. This step is optional but I think looks really great! You can add decorative rocks on top of the dirt to finish it off. We choose white rocks, but any color would work.
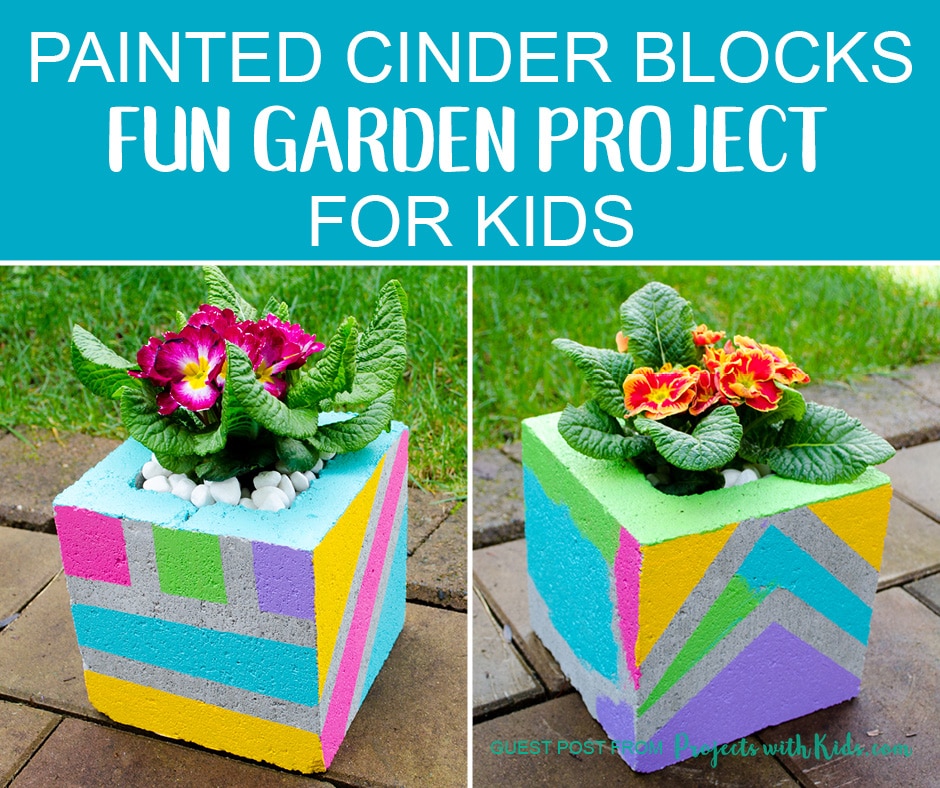
We had so much fun with this garden project, my kids loved creating their designs on their cinder blocks and picking out and planting their flowers. Our painted cinder blocks brighten up our balcony and were such a fun spring activity for us to do as a family.
Pin this project for later
You can find Angela at Projects with Kids where she shares fun and creative art and craft projects for kids of all ages. She lives on the west coast of Canada and is a mom to two very energetic and creative kids who love doing projects of all kinds and getting their hands messy. With a background in teaching, visual arts, and graphic design, Angela loves creating and having fun with art and sharing her ideas with her readers.

For more gardening ideas with Kids CLICK HERE
