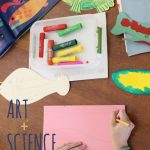
Do you know where the fish’s dorsal fin is? In this open ended fish art and science activity, children create their own fish. Kids trace, cut, and paint. A template takes away any frustrations of “I can’t draw a fish.” Let them draw on their own dorsal, pectoral, and pelvic fin.
This guarantees that every child’s fish will be unique and makes it theirs.
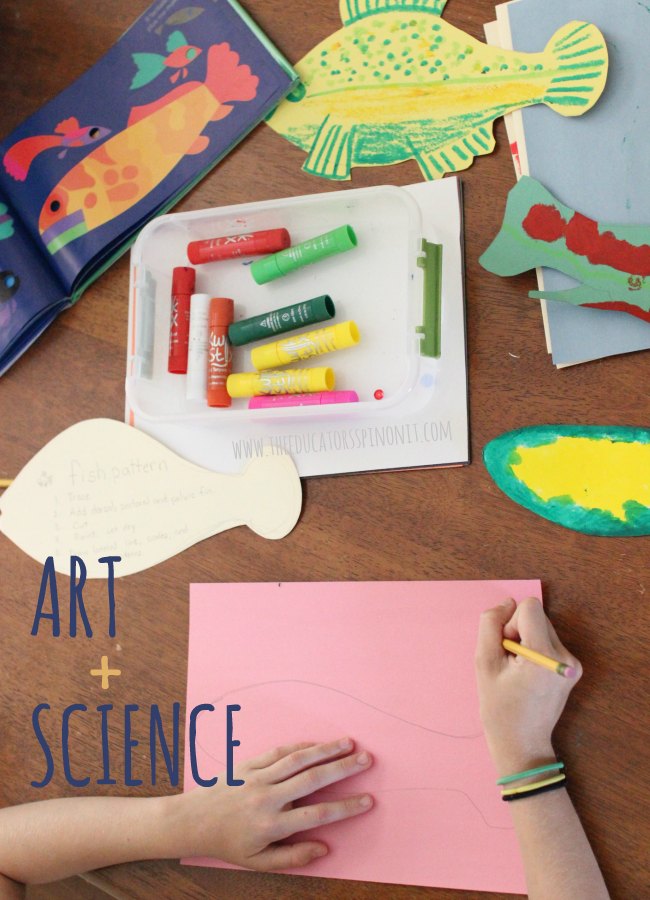
Open Ended Fish Art and Science Project
Best for ages 4-7.
Science learning objective: Identifies 3 parts of a fish. These may include, body, tail, dorsal fin, pectoral fin, pelvic fin, gills, fins, or lateral line.
What is this open ended fish art and science project best for?
I like to set out open ended projects, meaning, each child’s finished project looks totally different, on the dining room table for after school learning. These open ended projects also work well in a classroom setting for either a science, literacy or art lesson.
They can be done in either whole group or small learning stations. Tracing, cutting, and painting provide children with opportunities to use small tools, which can assist in strengthening fine motor. Using a variety of materials such as paint sticks encourages creative thinking. Teaching kids about the fish habitat and parts of a fish brings in the science.
Affiliate links to products.
Materials Needed for Open Ended Fish Art and Science Project
Here are the items that you will need:
- Tagboard
- Construction paper
- Pencil
- Scissors
- Tempera paint and Pastels OR
- Kwik Stix
Before Starting:
Read the book Fish Eyes, a Book You Can Count on by Lois Ehlert. This book is great for young children ages 2-6. It is perfect addition to the early childhood classroom or home environment because
- It’s fun and simple
- Has height colored illustrations
- Includes the numbers and number words in numerical order
- Focuses on the addition concept of plus one.
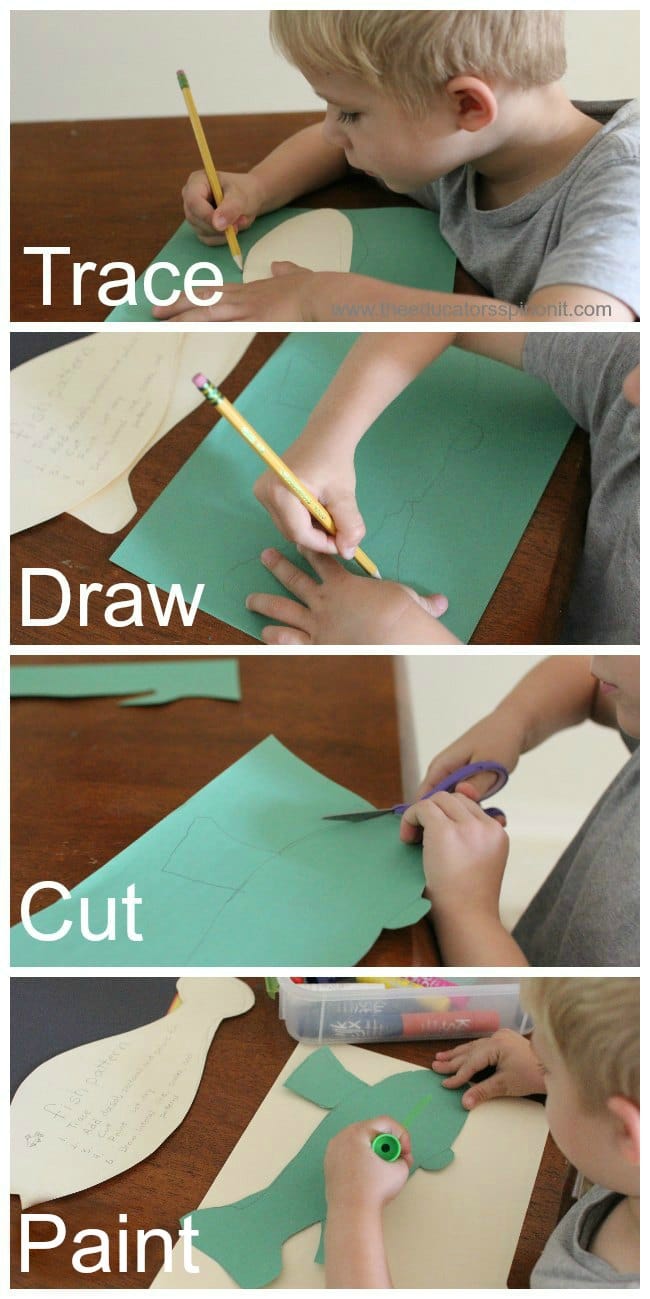
Directions for Open Ended Fish Art and Science Project
- First, make a fish pattern for the body and tail. Make several different templates for children to choose from. Label as pattern or template.
- Then, have the children select and trace their template.
- Let the children draw on the dorsal, pectoral, pelvic fin onto the body of their fish. Encourage them to use a triangle, rectangle or square.
- Cut the fish out.
- Last, paint the fish. Make sure to add the lateral line, fish eyes, scales, and patterns.
Option 1: Paint with tempera paint. Let dry. Then draw on the lateral line, scales, and patterns with crayons.
Option 2: Paint lateral line, scales, and patters with Kwik Stix These are a fast drying paint that my kids love.
See our Triangle lesson where we used them here.
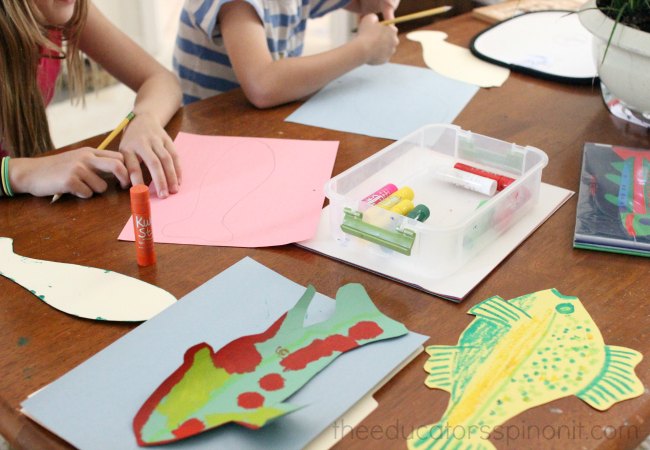
What to do with the open ended fish art and science project when you are done?
You can:
- Have kids write a sentence about their fish.
- Send them home with the kids.
- Count all the fish you made. Make up a story about the fish.
- Glue the fish on white pieces of paper. Make a kid-made book to read. Write a sentence on each page. Staple the pages together on the left.
- Collect all the fish. Hang the completed fish from the Open Ended Fish Art + Science Project on a bulletin board. Count how many fish there are. Make that number and number word with a bright colored construction paper. Add the words: fish you can count on. So if there are 10 fish, your bulletin board would say, 10 Ten fish you can count on.
You may also enjoy these ocean inspired activities for kids…
