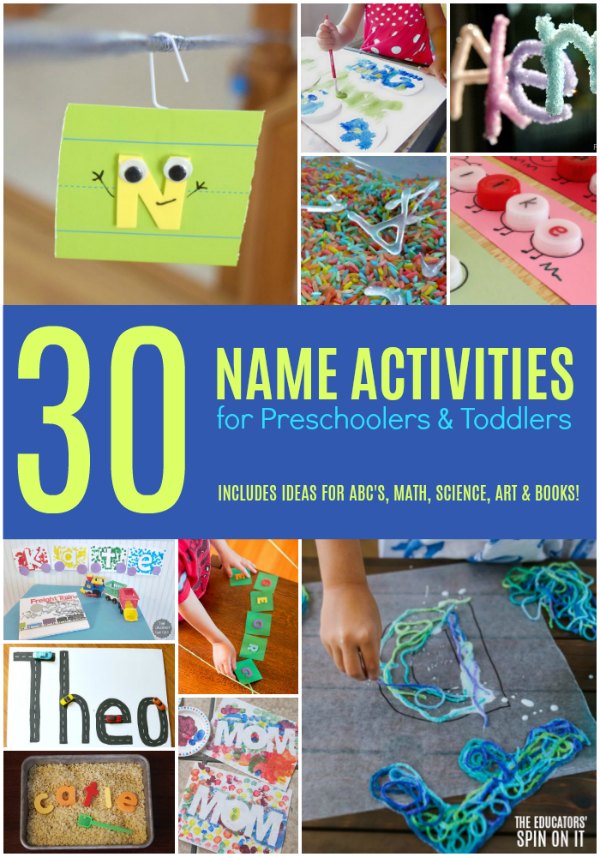
Working on name recognition? Your child will have so much fun with this drip painting rainbow name activity. The vibrant rainbow colors will have your child recognizing the letters in their name in no time plus you can even add more to make it an alphabet activity too!
Disclosure Affiliate links to Amazon used in this post.
Here’s how to make this rainbow preschool activity
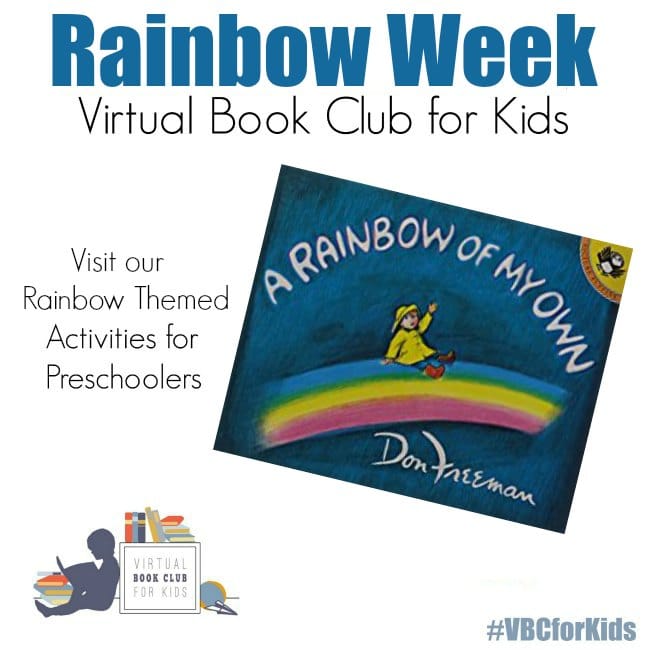
No matter how old you are rainbows are quite magical! This week we’re featuring the book A Rainbow of My Own as we focus on Rainbow Week!
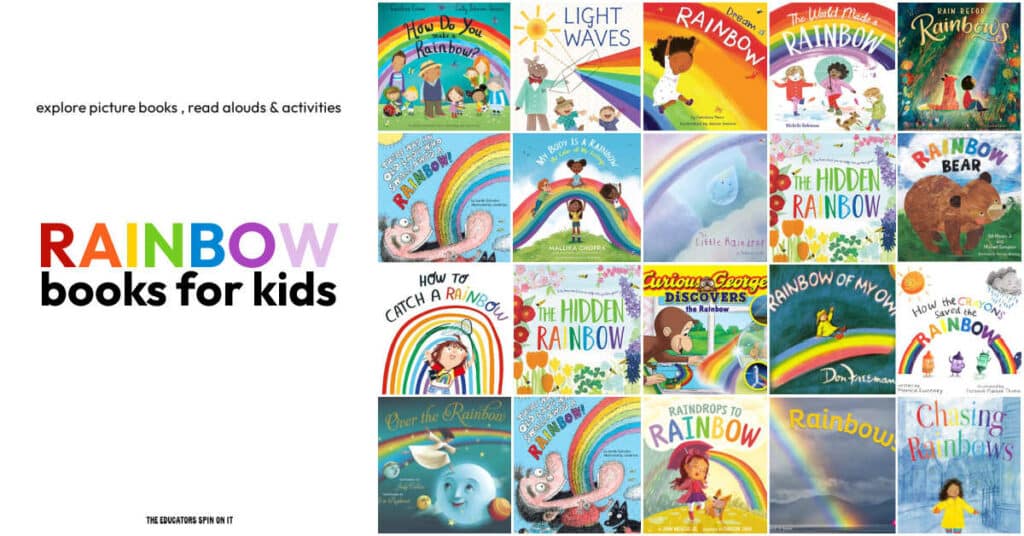
A Rainbow of My Own by Don Freeman
In the story a little boy imagines what it would be like to have his own rainbow to play with. After spending all day looking he then comes home to find a real rainbow shining on his wall.
This charming book has colorful illustrations that captured the imagination of young children. The story bounces between the child’s imagination and what really happens, which is ideal for preschoolers and toddlers who are learning to identify between what is real and what is pretend. I excited to see we’re sharing it for our Weekly Virtual Book Club for Kids Series.
Have you printed your Spring Book List yet to follow along?
The book A Rainbow of My Own inspired use to create our very own rainbows too. Plus we snuck in a name recognition activity too.
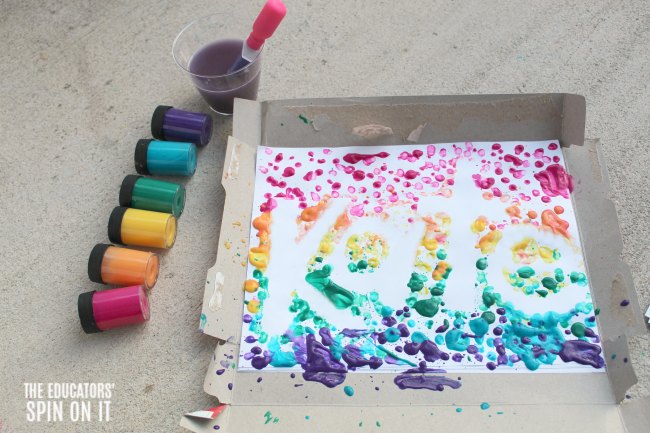
Drip Painting Rainbow Name Activity
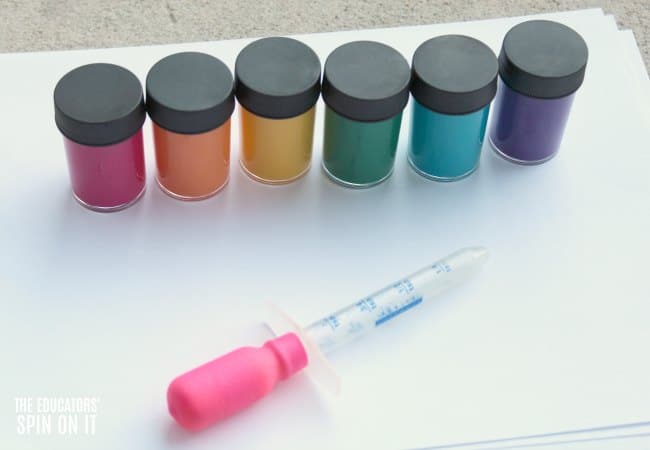
We wanted to simply have fun with the colors of the rainbow so we grabbed these colorful paints and a dropper AKA old medicine dropper and got started!
Here’s what you’ll need to make your own Rainbow Name Activity with your child.
Materials for Rainbow Name Activity
- Paint
- Dropper
- Heavy Card Stock
- Recycled Cereal Cardboard
- Scissors
Directions for Rainbow Name Activity
1. Set up a station for mess with this activity with paint and a ink dropper. Trust me on this one. We just headed outside to our front porch and used the rest of the cereal box to make our mess on. Recycled newspaper would be great to layout on your table in you’re doing this indoors.
2. Sit with your child and discuss the letters in their name. Then draw them onto the recycled cardboard with them. Be sure to use uppercase for the first letter of their name and lower case for the other letters. This is one thing that is important to learn for Kindergarten readiness.
3. Cut out the letters of your child’s name and have them lay them out onto the white cardstock in the correct order. If they need a little extra room for a long name just add a few more sheets of cardstock.
If they need help with putting the letter of their name in the correct order you can write their name out for them and have them match the order with the letters.
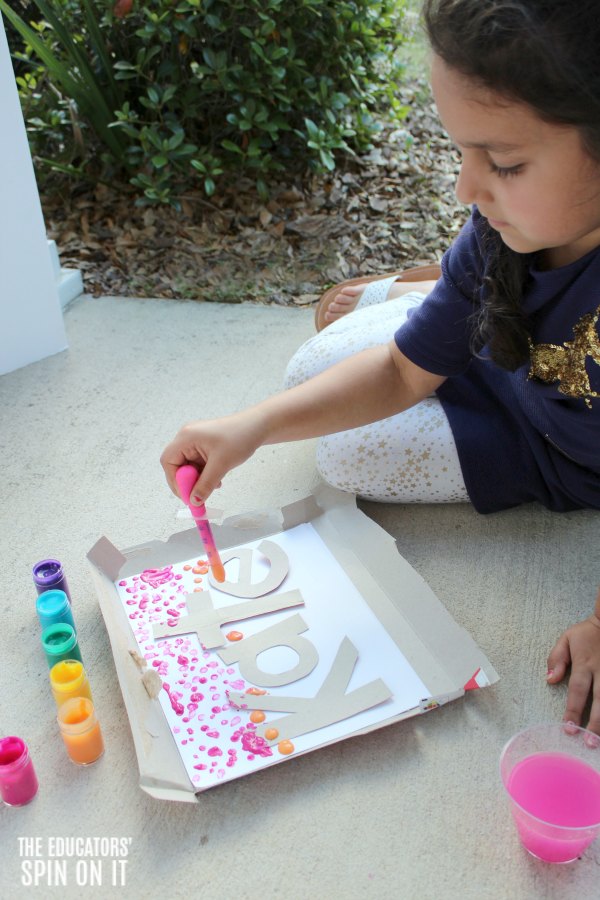
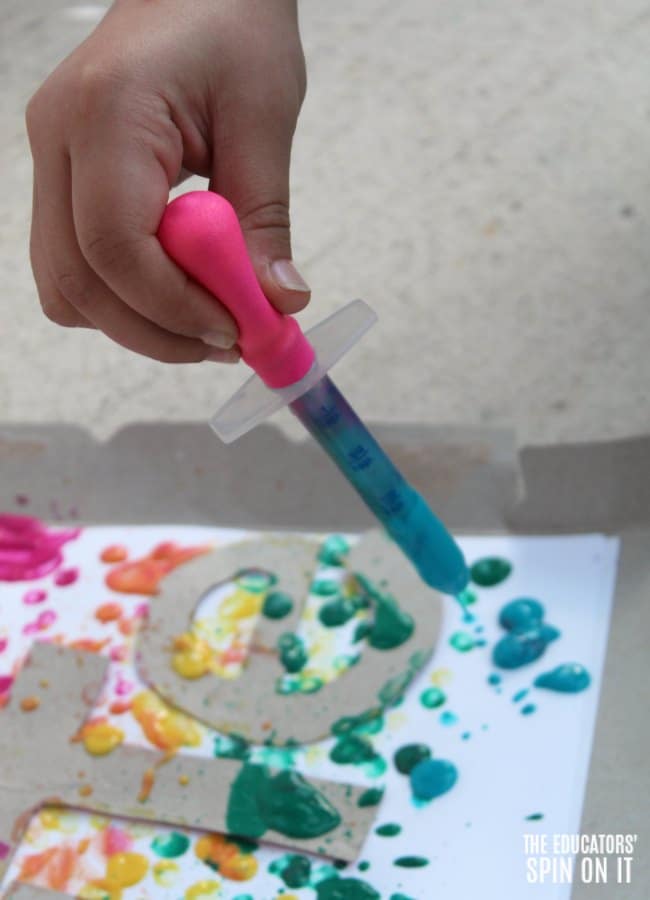
4. Using the medicine dropper or smaller dropper it’s time to ADD THE RAINBOW paint! We used a little plastic glass of water to wash the dropper in between the colors. It was a fun color changing experience too as the colors joined together so be sure to talk about color blended too and the magic behind that.
TIP: Start painting from the top down to create a rainbow effect!
We set out our paints by talking about rainbow order. Our paint box was vibrant paints so we talked a bit about how the dark pink would represent our red color. One by one use the colors to drop onto the paper. It seemed like the high my daughter held up the dropper the easier it was for her to do tiny tiny drops. You might want to test it out on another sheet of cardstock before you start so they get used to the technique of dropping paint.
SKILL: This activity with the dropper works on the same muscles needed for handwriting.
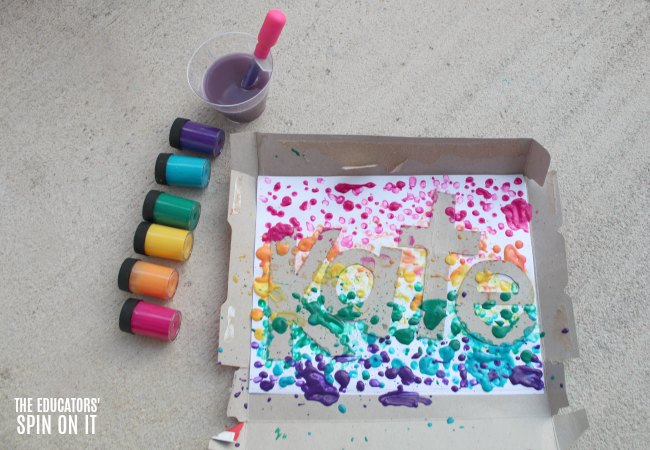
As your child paints around the letters be sure that they remain in place, you could take them down if needed. Also make sure that they try to get the ink drops along the edges of the letters for the most dramatic effect.
If needed you can also have them go around the letters with a cotton swab to ensure every little bit is covered.
TIP: As the paint gets less in the dropper the tiny tiny bits of paint splash out making a really neat design too, it’s a much faster squeeze to make that effect on the dropper. Try it out!
5. Once the paint is dry you can have your child remove the letter outlines on the paper. You’ll discover that you’ve created a paint resist that has their name in white. Frame it and hang it their art work up on the wall!
BONUS: You can also use the letters of their name for another project too since they will have the Rainbow colors on them too.
Rainbow Activities at The Educators’ Spin On It
- DIY Rainbow Clothespins
- DIY Rainbow Sea Shells
- Color Word Rainbow with Recycled Lids
- Rainbow Snack Ideas for Kids
- Color Word Activity Book with Hearts
- Mouse Paint Activity with Rainbow Colors
- 17 Rainbow Busy Bag Ideas
- Using Technology to Make a Rainbow
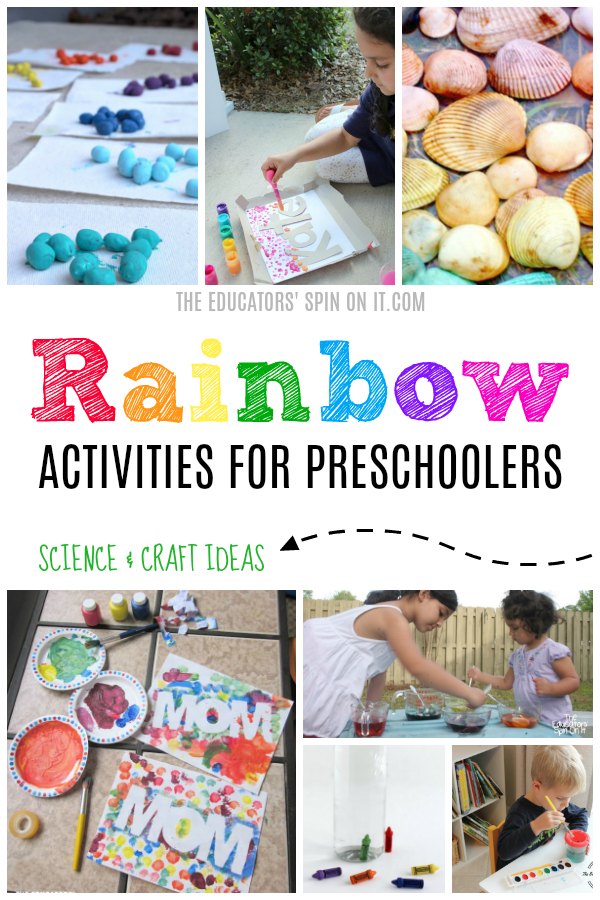
- Playful Preschool Rainbow Activities
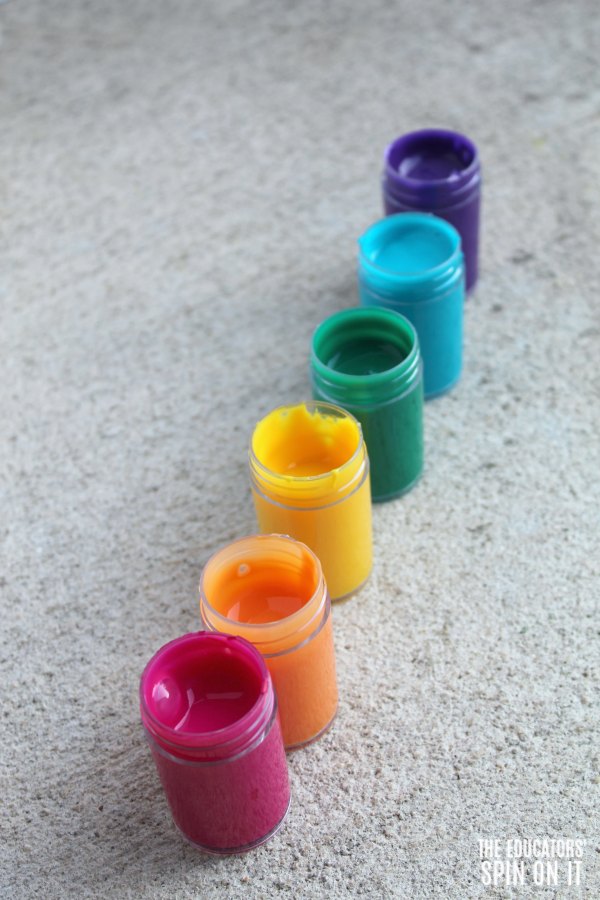
Once your child has rainbow on the brain you’ll discover they’ll want to paint so many other new pictures with rainbows in them. Be sure to have enough paint available!
Rainbow Activities for Preschool
Roll A Rainbow Numbers Game – School Time Snippets
Rainbow Lacing Number Bonds – Rainy Day Mum
Rainbow Texture Explorations for Toddlers – Inspiration Laboratories
An Easy Rainbow Colored Fluid Dynamics Experiment for kids – Mama Smiles
Rainbow Play Dough Color Mixing– Teach Beside Me
Rainbow Streamer Craft – Views From a Step Stool
Rainbow Ribbon Wand Movement Activity – To Be A Kid Again
Want more? Get our list of Colorful Rainbow Books for Kids.
You may also enjoy these activities with your child…


Wow! Kate just made a wonderful canvas with drip painting!! Very nice work!
So is it regular tempera paint or liquid watercolor or do you thin the tempera with water?
Thank you very cool!! V
I love process art that turns into a beautiful project! These paintings would be perfect to frame and display!